Ok Kids, on today's show, I'd like to talk a little bit about magnets. Now, I'm sure none of you have this problem, but in my house, there is a serious lack of strong magnets on the fridge. We have some of those flat ones that are cool, but can't really hold a sheet of paper up, but we only have like 2 that can do their job. Anyway, I've been wanting to get some more magnets for my fridge, but I wanted cute ones, and I've been having trouble. So the other day, I was browsing Etsy, and I saw these. I thought to myself, wow, those are cute. But I couldn't convince myself that they were worth a dollar apiece plus shipping and handling, you know? So I stared at them for a while, cause that's what I do when I see something I want but decide I don't need. And I realized, I can totally make those! So I went to Hobby Lobby, got the supplies and made totally cute knock-offs. I will now proceed to share my secrets with you.
First, you need... ModPodge (I keep the matte kind on hand at all times), a brush (or sponge, or whatever you apply ModPodge with), scissors, cute paper (I got this scrapbook paper set on clearance for like 3 dollars), regular black round magnets (I found them in the craft aisle at walmart), and glass pebbles (this is a really bad picture of them, but you'll see them later. At Hobby Lobby they're in the wedding section. I recommend the big (a little bigger than a quarter) ones that are totally clear. They didn't have the totally clear ones when I went, so I settled for the irridescent ones. They're still cute, just way shinier.

The first thing you're going to do is cut out chunks of paper (I also had some random circle cut-outs that were the right size, so I threw those in) that are slightly bigger than the pebbles (I normally do about 2" by 2").

Now, gloop some Modpodge on a piece of paper, and plop one of the pebbles flat-side-down strait on it. Press it down a little to make sure it kinda seals.

You'll end up with a bunch of these...
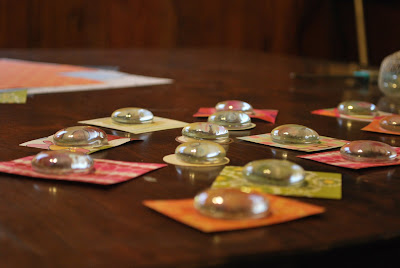 |
| From A Life of Delight |
Now, when you look at them, you'll notice that they look milky because of the ModPodge, like this...
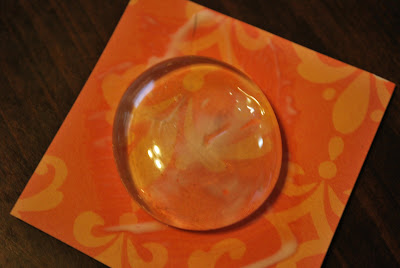 |
| From A Life of Delight |
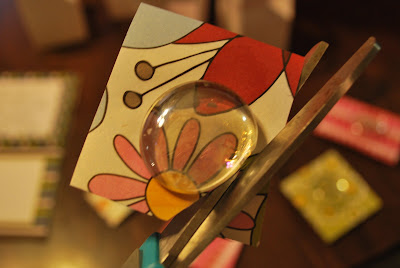
Don't worry about it. As the ModPodge dries, it'll turn clear. Promise. Ok, now... When they've dried (make sure that there's at least not any wet glue still around the outside), you're going to cut off the excess paper by cutting around the stone. The easiest way to do this is to make sure that the bottom blade of your scissors is the one closest to the stone. Get as close as you can and just trim off that excess paper.
 |
| From A Life of Delight |
Now, flip them all over so that they're paper side up. Take your magnets (I like to seperate mine before starting this part), put some modpodge strait on the magnet (you don't want it to be super thick, but you want the magnet to have a layer of white), then stick the magnet on the stones. At this point, I like to (carefully) flip them over so that they're resting on the magnet. The main reason is that sometimes the stone will shift with the weight of the magnet, and it'll slide around before it dries. Now, just wait for them to dry, and you're done!
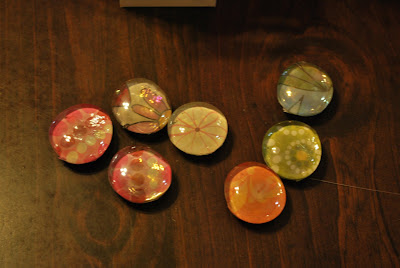 |
| From A Life of Delight |
These make great stocking stuffers, gifts for teachers, I put some in each of my swap boxes... They're just so easy. You could also use pictures, or drawings, stickers... whatever!
Anyway, enjoy!


12 comments:
Very neat Lauren!! You are very creative!!!
I've always wanted to know how to make my own stronger magnets! Awesome!
I'm heading to the craft store after my Target run today. I can't wait to get started!
hey darlin', on a somewhat unrelated note, my friend amanda has begun posting a new-etsy-user-manuel of sorts. her first post is at:
http://paper-lust.blogspot.com/2008/09/selling-on-etsy-part-1-of-many.html
just thought you and your sis might be interested in a few insider suggestions. great magnets, btw!!!
I LOVE these Ms.Creative!!!!
We did these with the kids at my church one day at our Vacation Bible School!!!!
I must say yours look much better~
I LOVE the paper that you picked!!!
oh, this is sooo on my back burner for the future!!
Megan
thank you so much for posting... it is so fun. I cannot get Mod Podge here, but I am sure I can find something similar... and I am not sure about the magnets either, but I am going to look.. I would love to try this! Thanks for posting! How fun!!!
These are FABULOUS! Are you taking orders? Gonna do your own etsy? Lemme know...I need these, and I am not crafty enough to make myself.
Look what you've gotten yourself into, Lauren! :)
Wow! Super cute. I will never take the time to do it, but I wish I would, haha! Way cute.
Wow, those are really gorgeous.
It infuriates me when a magnet is so useless it is incapable of holding even one sheet of paper to the fridge.
I know what EVERYBODY is getting for Christmas from me now!!
This is good!
oooooo, pretty! I might have to try this :)
Thanks for the tutorial, I will be making mine soon!
Post a Comment